“The Artisans’ Choice”
(765) 267-1237
Warning: You need to enable cookies in your browser to upload images and add to cart on this site.
Warning: You need to enable Javascript in your browser to upload images and add to cart on this site.
When framing a picture, it is customary to place a mat window between the print and the glass. The mat serves two purposes:
Our mounts and frames do not have glass cover so the first purpose is not an issue. It would not be good to have a mat window without glass since dust would collect on the bottom edge of the opening, so we need another method to separate the art from the surroundings.
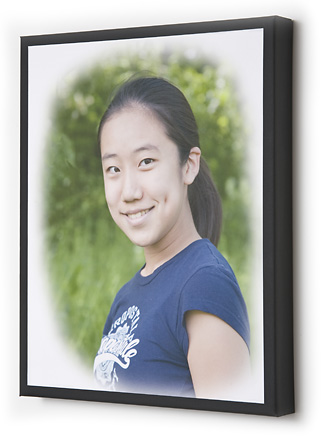
Photo by David Elmore
With Photoshop we can choose from a variety of borders, or we can leave the print borderless. Here are some of the border treatments we can apply to your print:
This works well for many images and gives them a modern look. It works especially well for picture walls.
A twist on the borderless concept, the image extends around the edge of the box mount. This works great if you have enough room on the edges of your image, but if you don't when viewed from the front, it will look as if the image were cropped too much. In this case we have several options: Leave the edges white, print a solid color on the edge, or clone the background to make the edges wider.
With a printed border, we can choose any color (often taken from within the image) and we can add some texture.
Often used for portraits, we can lighten or darken the border, or make white an oval shape around the image (see example).
We can make the border look like a torn edge of paper, for example. Just let us know what you want!
"Thank you so much for the personal service and fast delivery, esp. at the holidays. My dad was thrilled to have a copy of his mom's wedding certificate for Xmas that y'all printed out and mounted so nicely. This was the best Christmas present I gave and received this year. Thank you again...I will be back"... Mary Rayme
This customer's photo was printed on fine art paper then dry-mounted to the front of a black box with a black MighyCore board showing from the front. The mat-look border was added to the image before printing (see figure on the right).
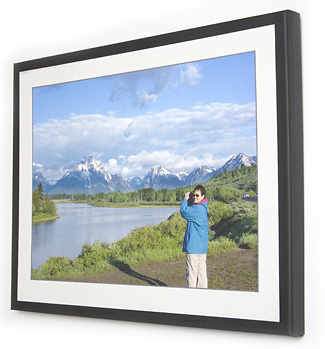
Photo by Paul Muzikar
To give the feeling of actual mat board, we add texture to the border and add a gray or black narrow strip between the image and border.
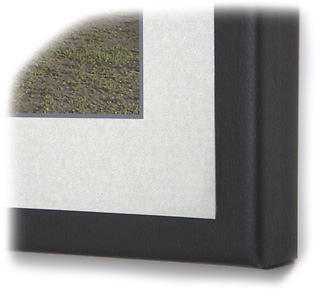
"Yes, it arrived very safe due to the excellent packing and it Exceeded my expectations!=KUDO`S. Exactly as I had it on my screen. Thank You!!!"... Hal Brambrick
The right side of this Gallery wrap we call "image wrap". For the bottom of the box there was not enough image so we reproduced the background color along the bottom before printing (the bottom of Gallery wraps is seldom viewed anyway).
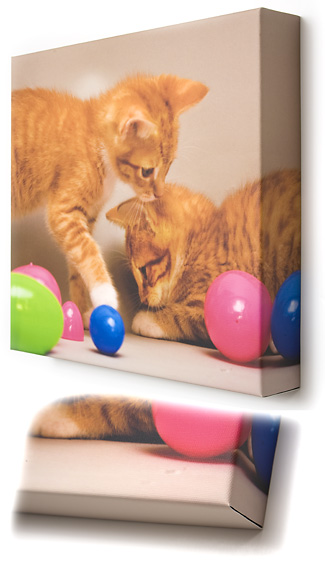
Photo by David Elmore
This gallery wrap border was printed wide enough to cover the sides and about a half-inch on the front to nicely frame this artwork.
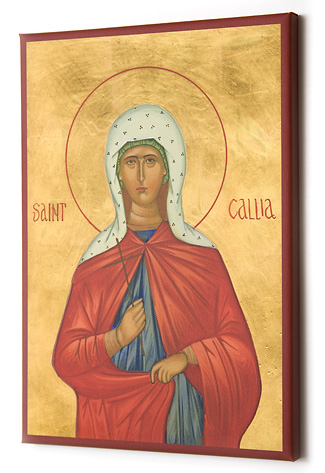
Printed for Jabran Soubeih
This border was generated in the computer by copying the image around the edge of the original, reflecting it about the edge, then pasting it back along the edge on all four sides.
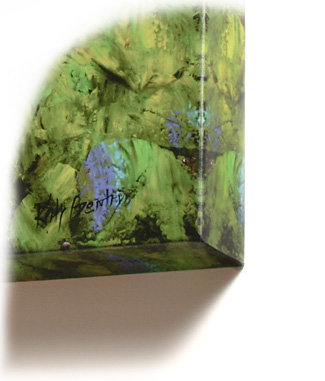
Painting by Kelly Gentry